Here is what I started with...but it just wasn't working. As you can see those bookshelves were not working as a backdrop.
I looked around on Google images and on Pinterest and finally came up with an idea that would take this scene to the next level! This is how I began the conversion. I started with a simple box that I cut in half and trimmed to tape to the ends.
From this point I just used brown paper to cover the entire thing.
Then I decided where the door would be and added a two design stripes across the bottom skipping where the door would be. I went back and then added the door. Then I cut windows, flower boxes, and flowers and glued them on. WaaLa! A camper! It completely changed the scene! The Tree came from Oriental Trading, which honestly was overpriced. I bought for the Alice in Wonderland Theme, you can make this cheaper on your own. It is metal poles that go into a wood base, the poles are covered (trunk) with fabric and the branches are just wire that is covered with foam (you could use spray foam or pool noodles) and then wrapped in black guaze. I added the ivy leaves myself. Chairs were on sale at Walmart $5. The fake rock was a photography prop, its made of hard styrofoam. You could make this too.
Now, lets talk about that amazing fire!
I started with an idea I found on Pinterest! I took two pool noodles and cut them to make the logs. Then I bought two cans of spray paint. One can was a dark color the other was a light tan color. I also bought one in a glossy and one in a matte finish. You can decide which one, but mixing it up gives more texture and lighting effects. I used a dark base on some logs and a light base on the others then I would highlight with the opposite. So if the log had a light base, I used a dark brown on top for detailing and vice versa. I would have sprinkled some gold glitter if I would of had some while it was wet for a glistening effect, but I didn't have any handy at the time. Then I took 4 colors of tissue paper, yellow, orange, red and another reddish orange that was in the pack of multicolors at Walmart for $4. I used 2 of each color so I had a lot. I used hot glue to glue the logs around the tissue to get the desired effect. I just twisted at bottom and folded so there is some at the bottom you can see under the log (usually you can see some fire embers under the logs in a fire) and I added the battery operated fairy lights which really was the cherry on top! You can buy these actually at Hobby Lobby for about $5. That was it!
Let's talk about accents! In the book room there will be two meeting areas, my small office area and what I like to call my kitchen area. I found several accents to start with that goes with the whole camping theme! Bears! Bears! Bears!
These little guys I pulled out of my sons closet! I have seen several different displays like this, most were much larger. Since I was working with only two small bears and didn't want to invest in any additional bears, I decided to make mine a table accent piece. I found this cute tin bucket at Hobby Lobby for $4.99 and the wood sign for $3.99.
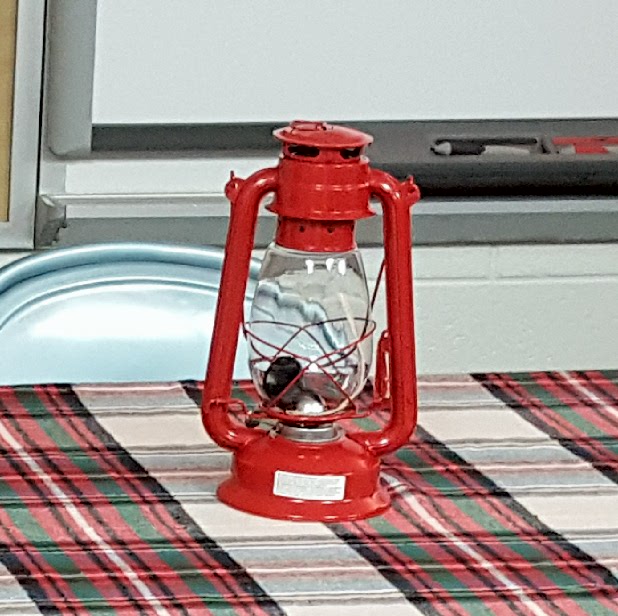
What camping retreat would be complete without a latern? These little gems were a Walmart find for only $6. Perfect for our meeting tables.
I have more to come!!


